It is simple to set up a camera alarm on your iPhone. On the camera screen, you will see the timer icon highlighted in yellow. You will need this timer setting before you take the photo. To capture photos with the timer on your camera, you can also use a tripod. A tripod will give you a better shot.
Apps that work with the camera timer
The iPhone camera timer allows you to take photos after a set amount of time. It can take pictures every 3 seconds or every 10, depending on how often you want. This is useful for taking photos from different angles, whether you are taking group shots or solo shots.
There are a variety of applications that can work with the iPhone camera timer. Self Timer is the most widely used app. Burst Mode is also a popular one. You can take multiple bursts at once with both of these apps. Open Camera and place your iPhone in the desired location to take a self-timed shot. Next, tap and hold the clock icon in upper right corner. Choose a countdown duration, such a three- or ten second time limit. Once the timer is complete, press the shutter button to take the picture.
The settings for the timer
The Settings for the iPhone Camera Timer can be difficult to find. You can find the timer either on the control strip or at the clock face on the back of the iPhone. If you can't find it, look to the upper right corner of the screen. Tap on Timer icon. A timer window will appear that allows you to delay the photo for three or ten minutes. Tap on Timer to select how long you would like to delay the image.
The Portrait and Photo modes settings can be used to set the iPhone's camera timer. To turn it off, press the shutter button. This will turn on the timer. The shutter button will be pressed to take the photo after a few seconds. After the countdown appears, the image will be automatically saved to the Photos app.
Take photos with the timer
The iPhone camera timer makes it easy to take photos with your iPhone without having to hold the camera. Simply open the camera program, tap on the up arrow in the upper-right corner of the screen, then choose the timer icon from the bottom of menu bar. The timer will appear in the upper-right hand corner of the screen. You can set the timer from 3 to 10 seconds.
Both the rear and front cameras will be able to use the timer feature. There are three timer modes available: Portrait, Square and Photo. This will allow for you to shoot a photo without using a tripod and hands-free.
Taking photos with a tripod
You can take better self portraits with your iPhone by investing in a tripod. A tripod can be used to set the angles of the photos and it also allows for more control over the time taken. Lamicall Phone Stand is a great iPhone tripod that allows you to adjust your phone's angle for best selfies. The UBeesize 51” "Extendable Tripod Stand" comes with a Bluetooth remote. First, position your iPhone against a neutral light source to take a selfie. Then, set the timer to ten seconds. Once the timer ends, switch on burst mode to turn off live mode.
You can take better photos when the light is low or when there's camera shake. You can adjust the shutter speed using the tripod. You can set the tripod to lower the shutter speed while still taking great selfies. To do this, you will need to unlock the iPhone. After Bluetooth is enabled, the iPhone can be paired with the remote shutter button. Finally, you can secure your iPhone to the tripod's adapter.
Avoid using the timer to shake the camera
The iPhone camera clock is a great tool to avoid camera shake especially when taking photos in dark conditions. Keep your hand off of the camera so that the subject is in focus before you press the shutter. This can be difficult for some, but the iPhone camera timer can help. You can set the timer to three seconds, which is ideal for landscapes and long exposures. Simply remove your hands from the camera after the timer has finished its job and then let go.
The timer is not only useful for taking photos in low light conditions but can also be useful for other purposes. The timer is useful if you want to take pictures of products. Without the timer you run the risk of creating unnecessary camera shake and ruining a photograph. The timer can be used for product shots as well as those with hand models or objects that are held in place.
FAQ
Light Room can enhance your photos.
You can get great photos if you start early. It's always a good idea to take as many pictures as possible and then decide which ones will be the most valuable.
This is possible because Lightroom lets you see how different settings affect each image. These settings can be changed on the fly, without needing to return to Photoshop. This lets you quickly experiment with what looks great and what doesn't.
What is the rule or thirds?
The rule of thirds can be used to create beautiful compositions, without having to use complicated camera settings. It divides the image horizontally or vertically into nine equal pieces. It creates three main areas, where your subject should appear. These are the top third (the upper left corner), middle third (center), and bottom third (lower right). You can use these areas as guides for positioning your subject within your frame.
The rule to thirds allows you to avoid placing important elements too closely together or too far apart. If they are too close to each other, it may be difficult for them to make a strong visual impression. You might find that they lose focus if you place them too close together.
What makes a camera bag good?
Because it protects your equipment while you are traveling, choosing a camera backpack is crucial. Consider these factors when selecting a bag.
-
To comfortably carry your accessories and camera, choose a large bag. Do not buy more than you need.
-
Durability: Look for bags made of durable materials such as leather, canvas, nylon, or polyester. Avoid plastic or fabric bags.
-
Protection: Make your bag waterproof against dirt, moisture and scratches
-
Organization: You can organize your gear by category to make it easier for you to find the right thing. You can put your lenses in one place, your memory cards and your battery charger another.
-
Comfort: Keep your hands free when shooting by using a shoulder strap instead of a handbag. Also, look for a comfortable design with padded straps.
-
Price: You can shop around to find a great price. Some brands sell their products at discount prices, which can be an added bonus.
-
Warranty: Find out if your company offers a guarantee on its products. This will ensure that you are able to contact the right person if something happens to your bag.
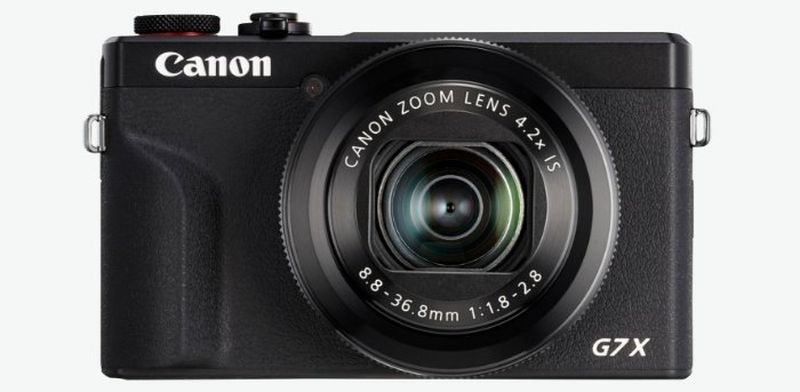
Which camera is best for beginners?
The best camera to use for beginners is dependent on your needs, budget, and skill level.
A point-and-shoot camera is a good option if you want to save money. These cameras aren't as versatile as they look, but they provide good quality.
A DSLR (Digital Single Lens Reflex) camera has interchangeable lenses that let you shoot different types of shots. While they are more expensive than point and shoots, they offer much more flexibility.
A beginner's kit for beginners is a good place to start. Everything you will need, including a tripod, flash, memory cards and lens, can be found in one package.
You should also remember to buy additional batteries.
Statistics
- This article received 13 testimonials, and 100% of readers who voted found it helpful, earning it our reader-approved status. (wikihow.com)
- In this case, 100% of readers who voted found the article helpful, earning it our reader-approved status. (wikihow.com)
- The second easiest way to get blurry photos 100% of the time is to use a cheap filter on the front of your lens. (photographylife.com)
- There are people out there who will pick at flaws they can only see in 100% crops of your photos. (wikihow.com)
External Links
How To
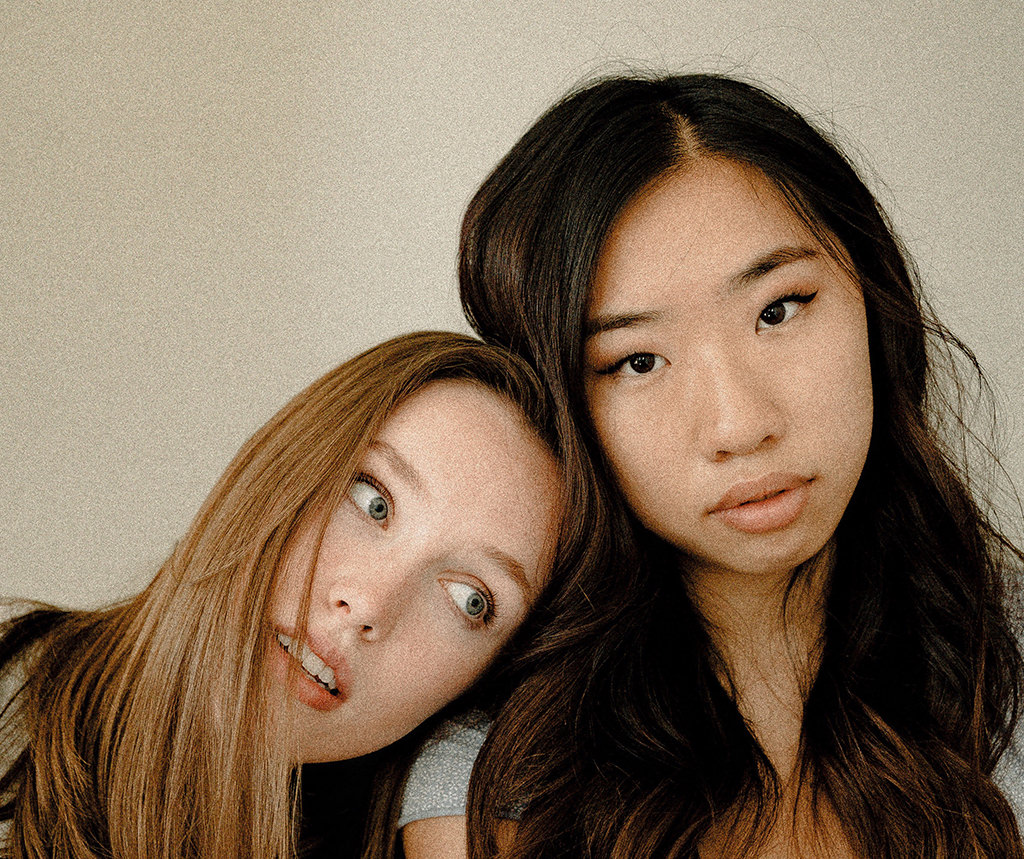
How to Take Pictures of Yourself
Portraits are important because of their ability to show who you actually are. They also tell your story. It's possible to have a favourite picture of yourself, but you are now looking for something different. It's easy for people to forget how fun it is to take photos. So here are some tips to get started.
-
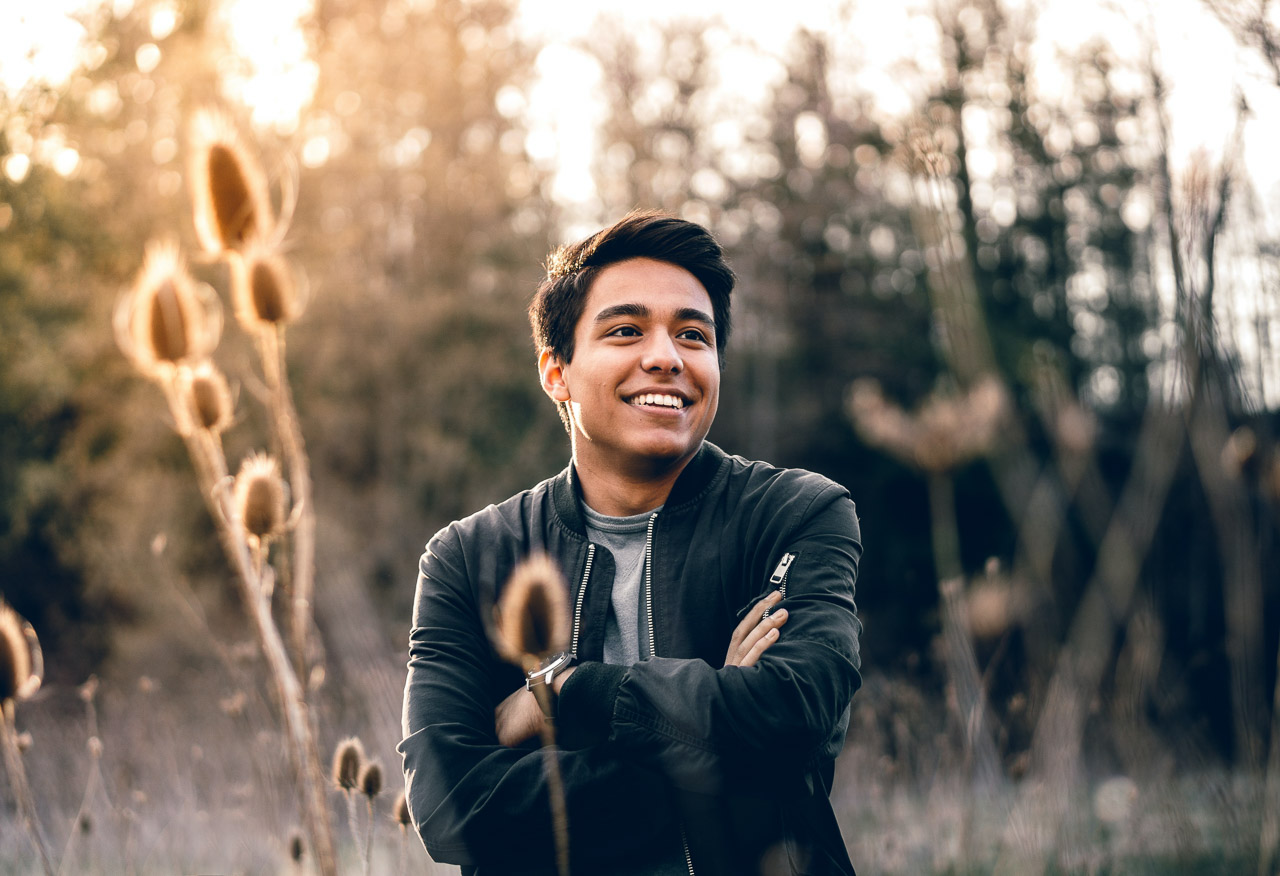
Make sure you have enough light. The best time to shoot portraits is early morning or late afternoon. Make sure you don't have direct sunlight shining on your face if you are using flash. This will wash out any details. It is best to avoid shooting at midday. Too many shadows will result.
-
Use a tripod. A tripod will prevent you from seeing any movement when you hold the camera still. That means you'll miss the chance to freeze action. And if you're going to use a flash, set up your shot first without it. Next, turn off your flash and then go back to the original shot.
-
Close-ups are best. Closeups are great to demonstrate detail. However, they can look fake if you don't have good eyes. Pay close attention to people's eyes and noses. Is there anything out of the ordinary? Is it possible that someone is wearing glasses? Are there freckles on the nose of someone wearing glasses? These features add depth and dimension to an individual's appearance.
-
Don't force smiles. Smiles can be tricky. Smiles can be tricky. Many people smile naturally when feeling happy. If you try to force them, it just looks unnatural. You should think about what makes your laugh. Maybe it's something silly like a cat jumping through a hoop. Maybe you enjoy watching paint dry. It doesn't matter what it is, just keep at it until it makes you laugh.
-
Be creative. People often think of themselves as boring. But being ordinary isn't bad. You can find ways to be different from the norm. Ask someone to pose behind their back with his hands in front. Another option is to suggest that he wear a funny headgear.
-
Keep practicing. You will improve your ability to capture moments if you keep practicing every day. You will start to notice more interesting details around you as your skills improve.
-
Have fun! Photographing should be fun. Enjoying the process will make you more likely to go back. You will likely end up with some amazing photos.
-
You should share your work. Share your photos with family and friends once you have learned how to take great pictures. Tell them why you took the picture. Show them the place you were. Let them know what your experience was.
-
Be patient. Sometimes, it's just not possible to click. It happens every day. Don't worry. You can just move on to another picture.