There are many different ways to adjust white balance in your camera. You have two options. One is to use the manual setting and the other is to use the automatic setting. There are several color temperature settings available. If you shoot in RAW format, you can also adjust the white balance in RAW.
Manual white balance
When you use your camera to take pictures, you can adjust the white balance manually. Digital cameras show the white balance setting on a Kelvin scale. The Kelvin values are used to indicate the color temperature of warm, cool, or neutral. You can adjust your Kelvin settings to achieve the exact color temperature that you desire. The camera will also give you suggestions for how to adjust the temperature.
Two main methods can be used to manually adjust the white balance on your camera. First, manually enter the Kelvin value into your camera. Generally, the lower the number, the cooler your image will be. A white or grey card can be used to adjust the white balance. The camera will know the true white color of the card in different lighting conditions and will calibrate the other colors accordingly.
A gel can be used to adjust your camera’s white balance. Gels can be used to correct extreme colour cases. Regular film is more sensitive to colour shifts than tungsten film. Digital cameras have revolutionized the industry.
White balance auto
Using auto white balance in photography is great for many purposes, but in certain situations it can cause some problems. The temperature of the light affects the colors in your photo. Your camera can become confused if it doesn't have a neutral grey surface or white background to refer to. This can lead you to images that aren't balanced.
It is best to use auto white balanced when your lighting conditions stay consistent. Auto white balance may make an error in indoor lighting situations with brightly colored objects or multiple lights. For example, the Northern Lights are a confusing scene. You should make any adjustments manually to avoid making mistakes.
In addition to creating problems for many, auto whitebala can also cause photos to look dull. This feature can be controlled by choosing one of the presets. These presets help the camera determine the right white balance based upon the scene. This setting should be used only when there is equal amounts of black and white light. Auto white balance can be affected by flashes or strobes that are not dedicated.
Change the white balance in Raw
Changing the white balance in RAW photography is crucial for achieving the right color balance in your photos. Jpeg images often have poor exposure because of the incorrect color balance. RAW photography allows you to easily restore color information. You can change the white balance by clicking the gray area in the image.
The custom setting allows you to adjust the white balance. You can adjust the white balance using the camera. Or, you can refer to a grey object or card. Here are some suggestions to help. To start, use a neutral reference. You will find it in any image.
If your camera has the proper RAW format, changing the white balance for RAW photography can be done easily. This mode allows editing of all details, including white balance. It can be difficult to edit if you are shooting under fluorescent or incandescent lighting.
FAQ
Is photography a rewarding job?
Photography is an artistic form that allows one to capture and share moments in time. It can also make you a lot of cash if your are willing to do the work. There are many options for professional photographers. As a hobby, you could take pictures of your family and friends. This will allow you to build confidence and improve your photography skills. After you've mastered this stage you can move onto paid assignments. Photographers who are the best earn a living doing what they love. Sometimes they travel with clients to capture images of people having fun at events like weddings or parties. Professionals prefer to shoot commercial projects like product shots or advertisements.
It is important to know what kind of photography you like before you can become a professional photographer. After that, practice, experiment, then master your chosen style. You can't replace experience so don’t expect to be successful overnight.
You should first develop your technical skills before you focus on creativity as a beginner. Photography can be both artistic or technical. The best way to achieve success in photography is to master the fundamentals of composition and use the right tools.
You should also consider whether you want to pursue a career in photography full-time or part-time. Some people choose to combine their passion for photography with other jobs. One example is working at a local magazine or newspaper while taking on freelance assignments. Others choose to dedicate their entire time to photography. You have to put in the effort and be committed to any creative endeavor.
It is important to take the time and effort necessary to make a career out of photography. Consider carefully if you truly want to devote your time to such a career.
Light Room is an excellent tool to enhance your images.
To ensure that you get the best photos for your project, it is best to start early. It's always better to take as many shots as possible and then pick the ones that will give you the most bang for your buck.
Lightroom allows this because it lets you see the effects of different settings on each photo. These settings can be adjusted on the fly without having to go back into Photoshop. This allows for quick experimentation with what looks good or not.
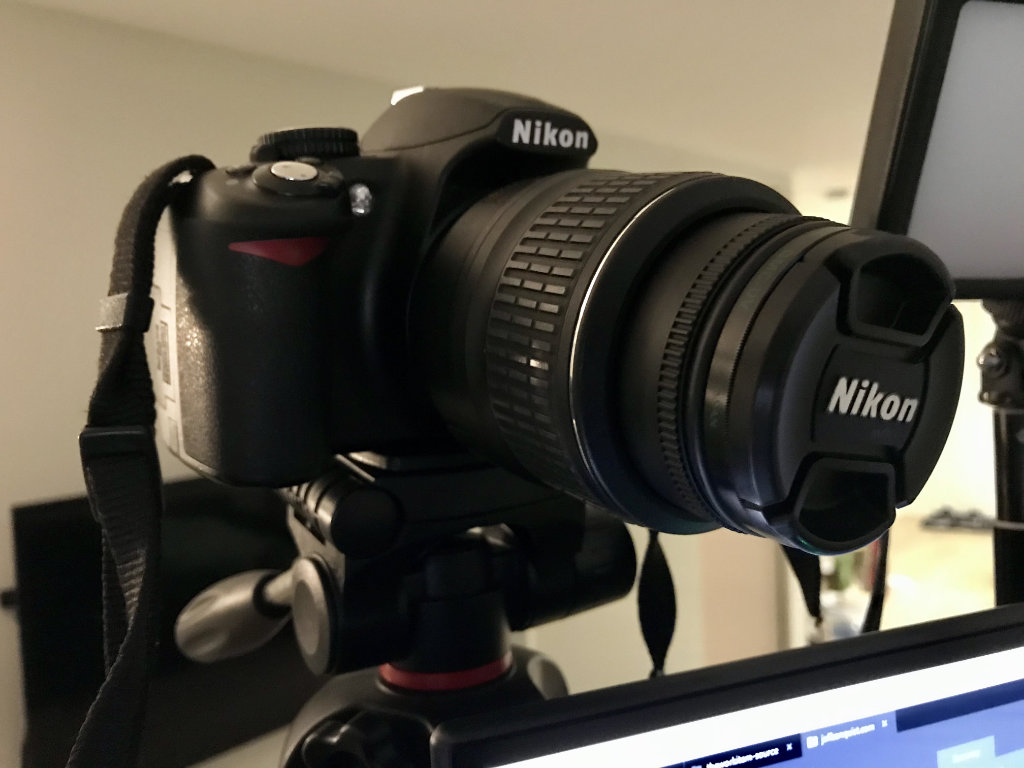
Do I Need A Tripod?
This is a question everyone asks. While a tripod isn’t necessary every time, it is useful.
A tripod allows you to stabilize your camera when taking photos at slow shutter speeds. If you're shooting landscapes or other stationary subjects, then a tripod can make a big difference.
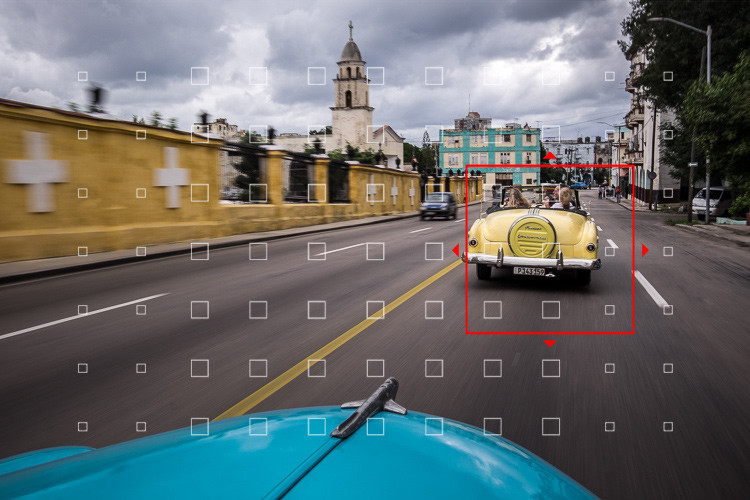
However, a tripod can blurriness if you are photographing moving subjects, such as people or athletes. How can you tell which situations call for a tripod and why?
A tripod is useful when you need to photograph stationary or fast moving subjects. Examples include:
-
Sports
-
People
-
Landscapes
-
Close-ups
-
Macro shots
If you're unsure whether you need a tripod, try this test. You can hold your camera still while you look through the lens. You will need a tripod if you see blurred lines and movement.
If you don’t see blurring, adding a tripod is unlikely to make any difference.
Here are some tips for those who do decide to buy a tripod.
-
Smooth legs are a must for your tripod. This will stop unwanted vibrations shaking your camera.
-
You should choose a sturdy tripod. Some tripods can be made out of plastic but they are not very durable. You should opt for a steel tripod.
-
Consider purchasing a remote release. Remote control allows you to remotely control your camera. You can set it to fire the shutter once you press the button automatically.
-
Try to find a tripod with a head that rotates 360 degrees. This allows you to place your camera horizontally and vertically.
-
Remember that tripods can be expensive. Expect to pay between $100-200. However, you'll get a lot of value for your money.
-
Don't forget about accessories like filters and memory cards.
-
Before buying online, check with your local store. Many retailers offer free shipping.
-
Check out customer reviews to learn what they think about a product.
-
Ask friends and family members who own similar products.
-
Visit forums and message boards to learn about customer experiences.
-
User reviews can be found online.
-
Amazon.com makes it easy to compare prices and see customer feedback.
-
Browse photo galleries to get an idea of what photographers do with their tripods.
Cameras for Sale
There are many online places where you can purchase cameras. B&H Photo Video is a reliable retailer. They are able to assist you with any questions.
B&H ships quickly and securely to make it easy for you to get your order to your door.
If you want to learn more about shopping for cameras, check out this video.
Is digital photography hard?
Digital photography isn't as simple as you might think. You will need to spend time learning how to use these tools correctly. You must know the right settings for different types shots. Learning by doing is the best way to learn. Practice makes perfect.
Which Lenses Do I Need?
Most beginners will ask this question: "Which lens should I buy?" It's a tough decision since there are so many options available.
The good news is you don't always need to buy a different lens with every purchase of a camera. Instead, you can add lenses later on.
There are three types possible lenses.
-
Wide Angle Lens (14mm-24mm): These lenses offer a wide field of view that allows you to capture more detail. You can zoom in to improve image quality.
-
Standard/Normal Zoom Lens (28mm-70mm): These lenses let you change the focal length while still maintaining excellent image quality.
-
Telephoto Zoom Lens (70mm–200mm) : These lenses are ideal for photographing distant subjects. These lenses let you focus on the subject even if they are small.
These lenses can also be combined to produce different effects. You can use a normal lens for close-up detail and switch to a zoom lens to capture distant objects.
Should I get into photography as an interest?
Photography is a great way of capturing memories and sharing them with loved ones. It allows you to discover more about the world.
If you are interested learning how to take better photos, there are plenty online resources that can help.
Consider taking classes at your local community college or art school. This will allow you to network with other photographers who can give valuable feedback on your work.
Statistics
- By March 2014, about 3 million were purchased monthly, about 30 percent of the peak sales total. (en.wikipedia.org)
- Get 40% off Adobe Creative Cloud(opens in new tab) (creativebloq.com)
- This article received 13 testimonials, and 100% of readers who voted found it helpful, earning it our reader-approved status. (wikihow.com)
- While I cannot prove that all of those spots were not sensor dust, the photo was taken during a heavy snowstorm…so I guess that 99.8% of the spots are snowflakes. (bhphotovideo.com)
External Links
How To
How to take macro shots with photography
Macro photography is the ability to capture small objects, such as insects and flowers, at close range. The term "macro" comes from the Greek word makros (makros), meaning large. If your lens has a focal distance greater than 50mm you can photograph objects that are extremely close up.
A good macro lens must have a long work distance and a fast aperture so that sharp images can be captured without having to move around. Also, avoid moving while taking photos as it could blur your image.
Here are some tips to take great macro photos:
-
Use a tripod. Set up a table or chair so you don’t knock anything over. This will make it less likely that you are moving when shooting.
-
The right lighting is important. Macro lenses usually come with built in light filters. But if you don’t, you can always buy one. It helps to avoid overexposure.
-
Be patient! Shooting macros takes practice. Even though you might only see one tiny bug or flower at a time, it is worthwhile to continue shooting until you capture it.
-
RAW file format allows you to shoot in it. RAW files store more data than standard JPEGs. RAW files are best for editing later because you can make adjustments like cropping and color correction after the fact.
-
Do not forget to add the background. The background can sometimes add interest to your shot even though it is a foreground item. It's worth including it in your photograph.
-
Keep learning.