You have come to the right spot if your interest is in levitation photographs. We suggest that you start by learning the basics of floating. Location plays an important role in creating an interesting shot, and fun murals are a good choice for levitation photographs. However, it is important to know the basics of floating rules before you start photographing people flying. Here are some suggestions for places where you can take photos of people in flight.
Technique
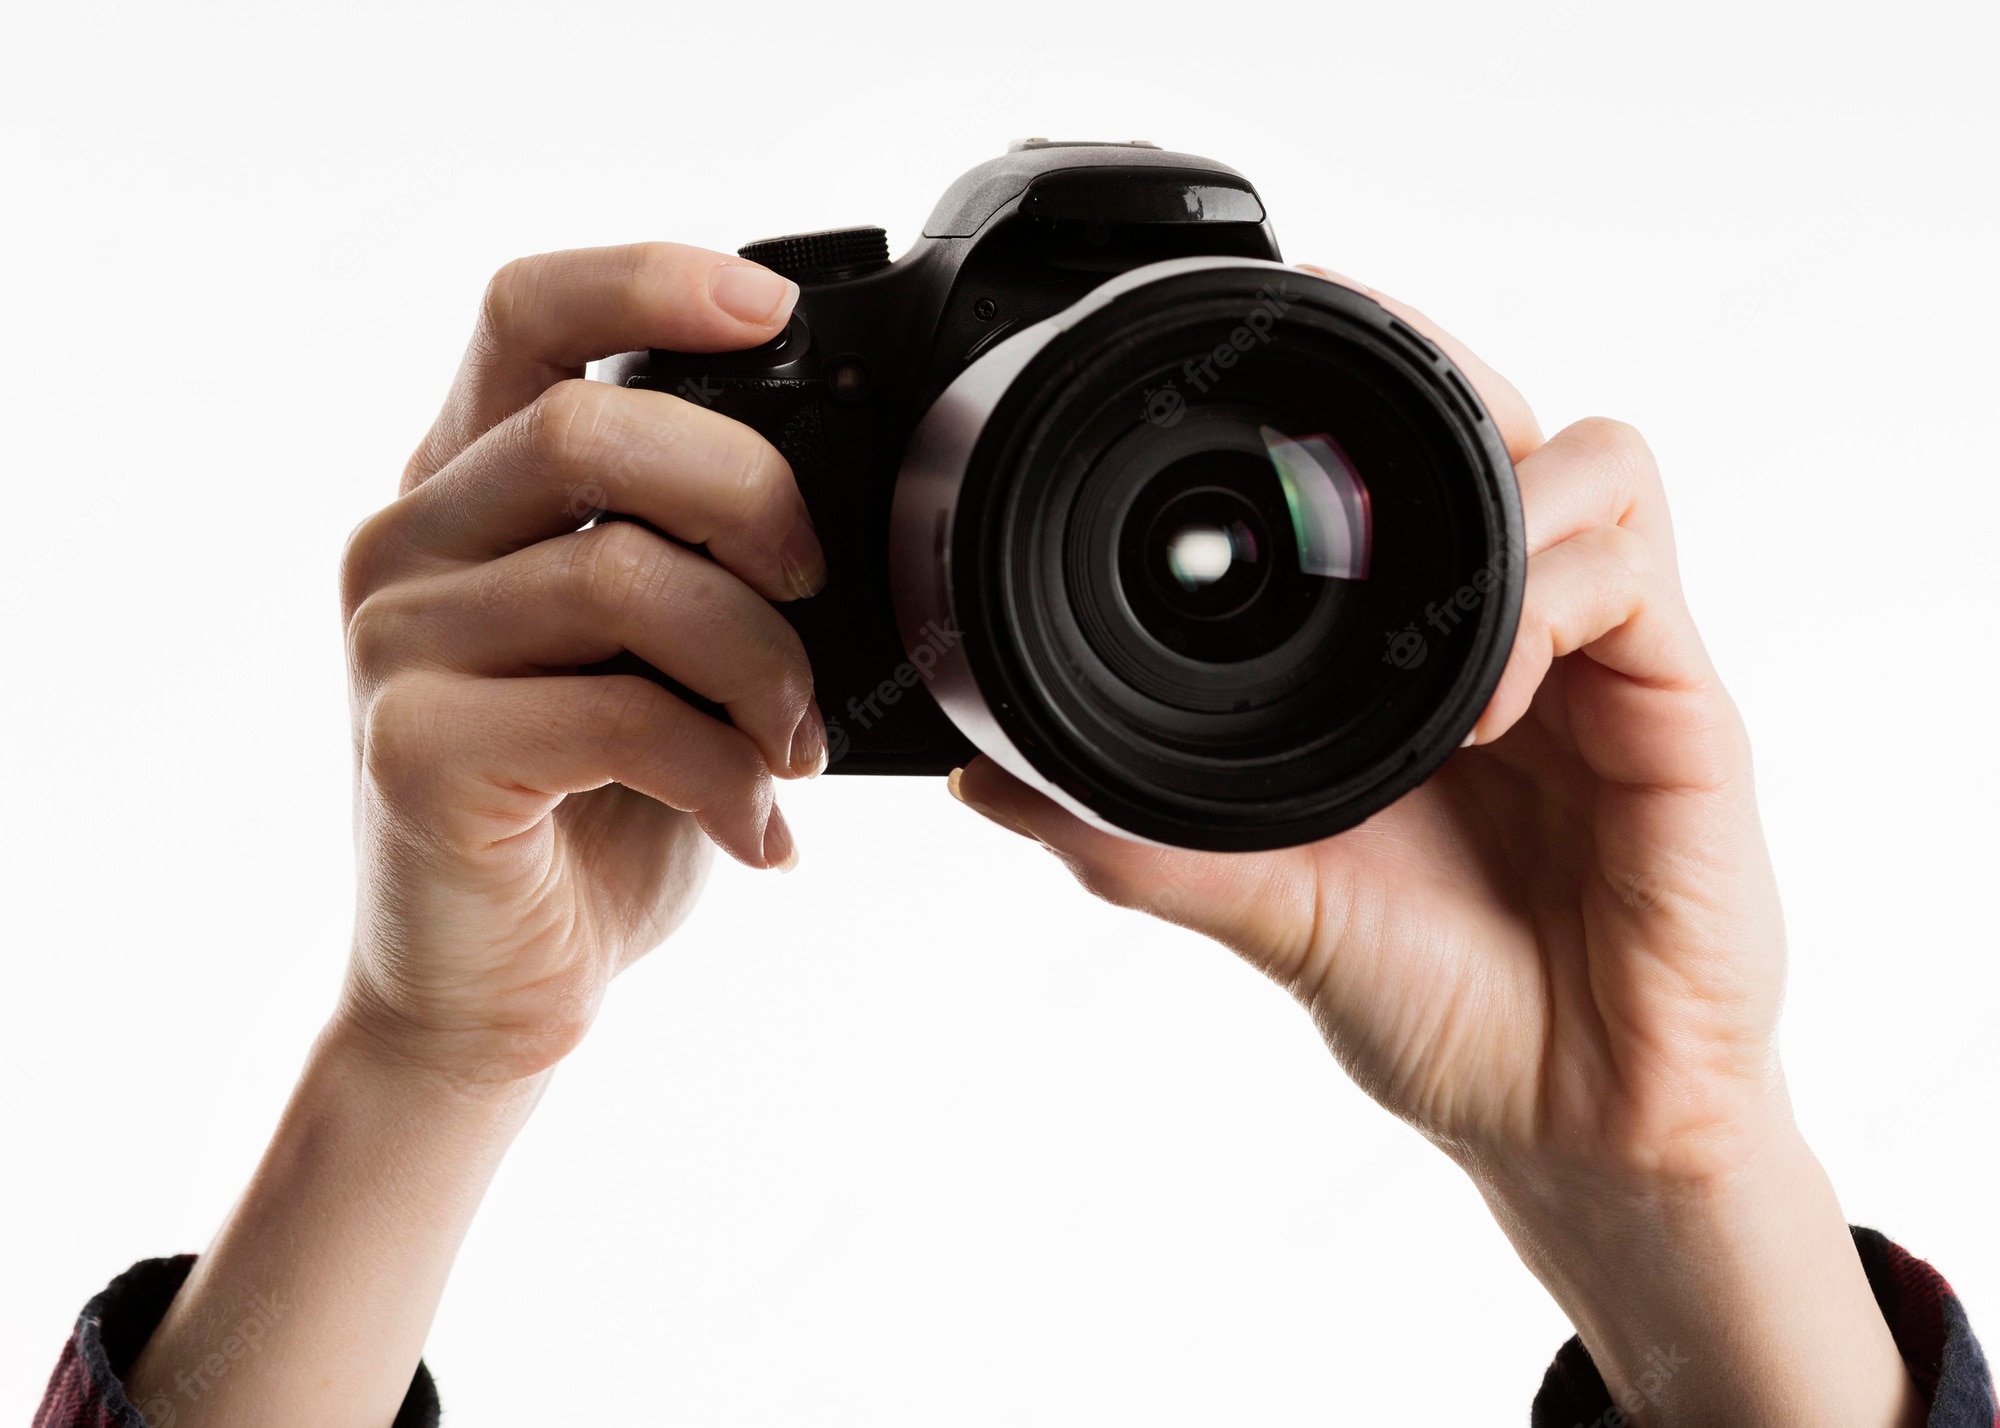
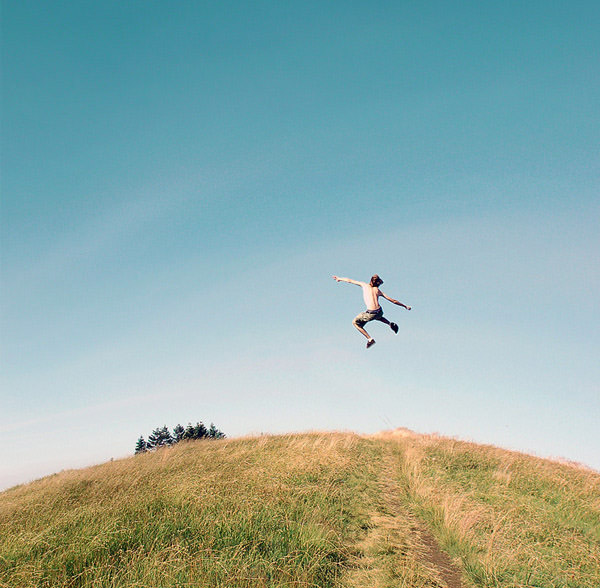
Technique of Levitation Photography allows you to capture the magical world of levitation. To create the illusion of levitation, you will need to have a stool or chair to support the model. In order to remove the support, it is important to have the correct software, such Photoshop. Wearing clothing that adheres to the body is a great tip for levitation photography. It will make it much easier to edit later.
Preparation
Make sure you have everything ready before you attempt to take levitation pictures. Make sure that you have a tripod that is stable. You should also have a strong fan to help your model in her pose. You can also use your camera remote to assist you if necessary. A tripod is also helpful if you're shooting outdoors, but it's not essential. Solid clothing is another tip to help you with levitation photography. You may have difficulty cloning the model if you wear patterns and prints. You may also need to do additional work after production.
Props
Make sure you have all the props ready before you attempt to make a photograph of levitation. An empty background is your most important prop. It could be anything, such as a cup, a piece clothing, or even a mirror. Then, shoot the props in the same lighting condition as your model. A picture that is not natural will look artificial and unnatural. Next, proceed to the next stage: processing the images. If your camera can capture RAW files, you can open them in Photoshop. You can then draw a path using the pen tool along the contours.
Color palette
For the ultimate levitation photography shoot, stick with a color palette that includes your favorite colors. You need to choose a palette that suits your photos. To keep track of your levitation shots, keep a color journal. This will allow for you to organize your thoughts, and help make the project go smoothly.
Stability
While levitation is not difficult, it's important to remember that it must be stable for the correct exposure. For this reason, a stable tripod is essential. Stable tripods can prevent blurring and glare. If you are outdoors shooting, you can use white balance presets to ensure that all the images match. It is crucial to use a remote control for levitation. A remote camera will allow you to assist your model.
Green screen
If you're planning to take photos of people in levitation, using a green screen will be crucial. While it is possible to create the illusion of floating by photographing on the same ground as your subject, it will look more real if a greenscreen is used. A green screen will allow your subject to concentrate and be safe by elevating them from the ground. To sell the effect, you can use heatwaves and ultrakey.
FAQ
How do I look good in pictures?
The best way to ensure you look good in photos is to take them yourself. You'll learn the best angles to use, how to pose for photos, and how to make them flattering. You'll also learn lighting techniques and how to use props to enhance natural beauty.
Learn how to select clothes that fit you well, what make-up looks good on you and what hairstyles best suit your style.
And if you're not happy with the results, we'll show you how to retouch your images using Photoshop and other editing software.
Take some self-portraits.
Is digital photography hard?
Digital photography is not as simple as it seems. Learning how to properly use the tools takes effort and time. To be able to take different types of shots, you must know what settings are appropriate. It is best to practice what you have learned. Practice makes perfect.
How do I become an excellent photographer?
Photography is an art form that requires practice, patience, dedication, and above all else, passion. If you are passionate about photography, you will find yourself doing much better than if you were just going for the money.
You should learn how your camera works. You will need to know how to use your camera properly. You also need to have a decent understanding of Photoshop.
It is hard to master photography, but it is worth the effort.
You can improve your skills by reading books, attending classes, and participating in competitions. You will gain confidence and experience, which can lead to improvements. What equipment is required?
It really depends on what kind of photography you like to do. If you're interested in landscape photography, for example, you'll need a wide-angle lens.
If you're interested in portrait photography, you should get a telephoto zoom lens.
A tripod is essential for photographing. A tripod allows you to stand still and compose your photograph without having to move.
A camera bag can be used to carry your camera, memory cards, or other accessories.
If you're using a compact camcorder, a flash device is essential.
A DSLR (Digital Single Lens Reflex), is the best camera choice for beginners who want professional quality photos.
DSLRs are very popular because you can control every aspect of the photo including shutter speed, apertures, ISO sensitivity and white balance. You also have the option to use autofocus, autoexposure lock and self-timer.
Do I Need A Tripod?
This is one of those common questions. A tripod isn’t always needed, but it can be very useful.
It allows you to hold your camera steady when taking pictures at slow shutter speeds. A tripod can be very useful if you want to photograph landscapes and stationary subjects.
A tripod can also cause blurriness when you are photographing people or sports. How do you determine which situations need a tripod?
A tripod is useful when you need to photograph stationary or fast moving subjects. Examples include:
-
Sports
-
People
-
Landscapes
-
Close-ups
-
Macro shots
You can use this test to determine whether you need a tripod. Hold your camera still and look through the viewfinder. A tripod is necessary if you notice blurred lines or movement.
If there isn't blurring you won't notice any benefit from adding a tripod.
These are just a few tips to help you decide whether or not to purchase a tripod.
-
Your tripod should have smooth legs. This prevents unwanted vibrations from shaking your camera.
-
Use a sturdy tripod. Some tripods may be made from plastic, which can make them less durable. Instead, choose a metal tripod.
-
Buy a remote release. Remote control allows you to remotely control your camera. The button can be pressed to activate the shutter.
-
Make sure to look for a tripod that rotates 360 degrees. This makes it easier to position your camera vertically or horizontally.
-
You should keep in mind that tripods don't come cheap. Expect to spend between $100 and $200. You'll still get a lot for your money.
-
Don't forget accessories such as memory cards or filters.
-
Before buying online, check with your local store. Many retailers offer free shipping.
-
Check out customer reviews to learn what they think about a product.
-
Ask family members and friends who own similar products.
-
Forums and message boards are a great place to find out about customer experiences.
-
Find user reviews online.
-
Amazon.com allows you to compare prices, and receive customer feedback.
-
Browse photo galleries to get an idea of what photographers do with their tripods.
Statistics
- By March 2014, about 3 million were purchased monthly, about 30 percent of the peak sales total. (en.wikipedia.org)
- That's the easiest way to get blurry photos 100% of the time. (photographylife.com)
- While I cannot prove that all of those spots were not sensor dust, the photo was taken during a heavy snowstorm…so I guess that 99.8% of the spots are snowflakes. (bhphotovideo.com)
- Get 40% off Adobe Creative Cloud(opens in new tab) (creativebloq.com)
External Links
How To
How to take photographs in low lighting conditions
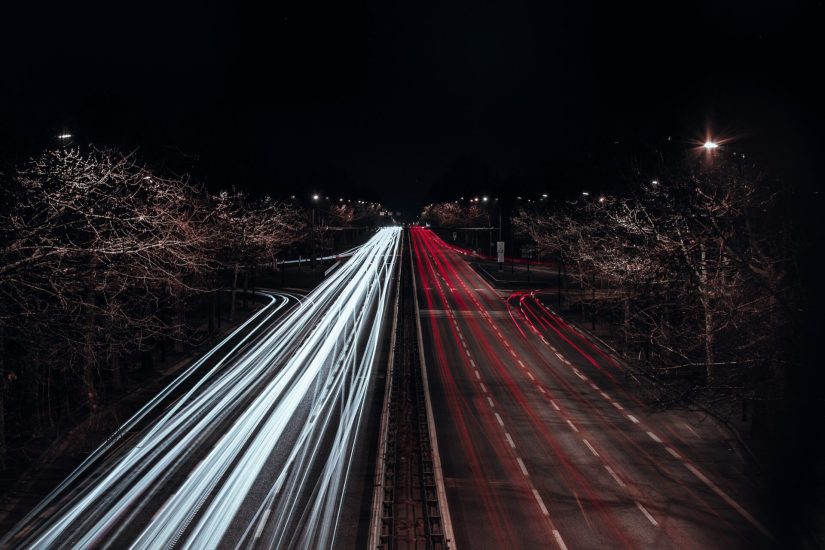
Low-light photography is the art of taking photographs in dark or dimly lit environments. It requires special equipment. The key challenges are in controlling exposure, white balanced, and sharpness. There are two types of low light photography: flash and ambient. Flash photography works well when you have enough light. A flash is required if there isn’t enough light. For example, if your subject is indoors but outside, there might not be enough light to capture a good picture without a flash. A flash is not necessary if you aren't interested in shooting at night with the moonlit hours. You'll be able to capture beautiful colors and shadows this way. Another option is to shoot during twilight. Twilight happens when the sun has set but there is still daylight.
Also, you might want to try long exposures. Long exposures enable you to take images even after your shutter has been open for several seconds. When the shutter remains closed, the camera records only light that falls on the sensor. During a long exposure, this light continues to fall onto the photo sensor. However, because the shutter remained shut, no new light enters the lens. The result is that there is very little movement. Turn off autofocus and autoexposure to ensure you get clear images. Adjust the ISO setting before you start to shoot. An ISO setting of 200 will give you more control over the brightness or darkness of your image. Next, click quickly on the shutter button to capture the shot. The shutter will close completely. Then, you should hold the shutter button until the last possible second. You will prevent additional light from entering your camera by keeping the shutter button down. Wait a few seconds after you have taken the photo before you release the shutter button. This allows the camera time to process the photo. You can view your photos while you wait on the camera. Once you're satisfied with them, save them to your computer.