Are you looking for the perfect place to take your graduation photos? If so, then this is the place for you. Here are the best times to take photos, the best places to shoot, and the best props. You will be glad you read this! Have fun Here are some ideas and tips for taking graduation photos. We hope these ideas inspire you. You will be proud for your achievements. You worked hard for your diploma all these years.
Photos of graduation locations
You've spent all of those long years in college and are now getting ready to graduate. You can celebrate your achievements by taking graduation photos with close friends and family. The hard part is deciding where you want to take your pictures. Here are a few suggestions. Begin by taking photos at the high school. If your school has a beautiful front lawn, consider using it for the photos. Next, select a gazebo/bridge with a scenic view. And don't forget to include your college's name, as this is a great backdrop for graduation pictures.
You can take college graduation photos at many locations. There are many places to take graduation photos in college. But, if your goal is to capture the spirit among your fellow graduates, then you should visit the campus's sport fields. Many iconic spots include the school's cafeteria and football stadium. There are hidden gems like stairs or fountains. In addition to these popular places, you can also use these areas to capture the story of your college years.
What time of year should you take them?
The season is a great time to take senior portraits. Springtime is a great time to try out a new look! It is a perfect time to work on your outfit because of the warm temperatures. Plus, the background is stunning, with lush green trees and blossoming flowers. The shoot will be as fresh and vibrant as the spring season! Plus, shoots taken early are usually less expensive than shoots done later in the season.
To take the perfect graduation portraits, you should spend some time exploring the school campus beforehand. You can also drop virtual pins onto a map app so you can check them before the shoot. Be aware of where and how you can find parking. There is usually limited visitor parking at schools. Ask the graduate what they will wear and learn about the school's dress code. You can use the caps and gowns as backdrops for photos, so plan ahead!
Props to use
Props can be fun for any occasion, such as celebrating your graduation or creating a memorable portrait of yourself. You have many options to enhance your photos. Be sure to bring your cleaning supplies when you are choosing props. You can also add items to the photos that reflect the life of the graduate. You can choose a theme for your graduation photos to make each one unique.
Graduation photos are an excellent way to capture memorable campus landmarks as well as personal quotes. You can also add unplanned shots to capture the atmosphere of the event. These photographs should be taken before people leave or wander off. You can create interesting backgrounds by using lighting. The graduates will be proud to have the photos to remind them of their time at school and college.
Photographing locations
Graduation photos are a great way for students to say goodbye to college. Posing for photos allows you to share with friends and family the memorable moments from college. It can be difficult to choose the right location. Here are some great places to take graduation photos. You'll make the most from your day. Remember to consider the weather. For the best sunbrightness, it is important that you shoot your photos at least an hour before sunset.
You should be flexible when selecting a location for graduation portraits. Graduation portraits take more planning and communication. Make sure to include your number when you contact a photographer. After that, you can work with the photographer to find the perfect spot. Although graduation portraits are usually taken on campus, there can be crowds at these campuses during the week. So, schedule a weekend shoot. If you want candid portraits, find a spot where people can be relaxed.
FAQ
Do I Need A Tripod?
This is one of those questions that everyone asks. A tripod isn’t always needed, but it can be very useful.
It can be used to steady your camera while you take slow shutter speeds pictures. Tripods can be a huge help when you are shooting landscapes or stationary subjects.
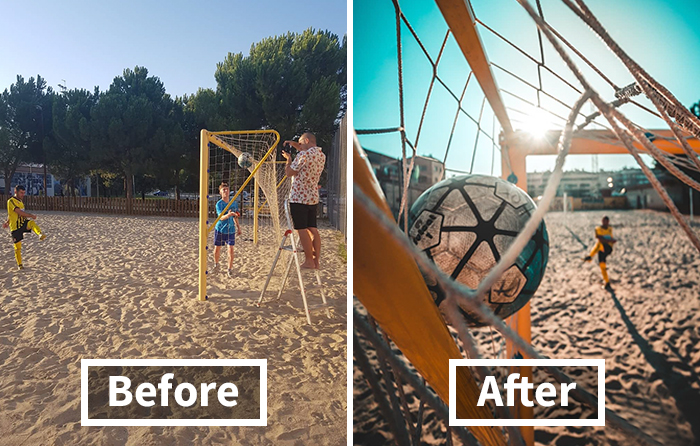
However, using a tripod to photograph moving subjects like people or sports can result in blurriness. How can you tell which situations call for a tripod and why?
A tripod is useful when you need to photograph stationary or fast moving subjects. Examples include:
-
Sports
-
People
-
Landscapes
-
Close-ups
-
Macro shots
Do this test to see if you are unsure if you require a tripod. Look through the viewfinder with your camera steady. A tripod is necessary if you notice blurred lines or movement.
A tripod won't make any difference if there is no blurring.
If you do decide on a tripod purchase, these are some things to remember.
-
Smooth legs are important for tripods. This will stop unwanted vibrations shaking your camera.
-
A tripod is a good choice. Some tripods are made out of plastic and may not be very durable. Instead, choose a metal tripod.
-
You might consider purchasing a remote control. Remote control allows you to remotely control your camera. The button can be pressed to activate the shutter.
-
Make sure to look for a tripod that rotates 360 degrees. This allows you to place your camera horizontally and vertically.
-
Tripods are expensive. Expect to spend between $100 and $200. You will still get a lot out of your money.
-
Accessories such as memory cards and filters are important.
-
Before ordering online, you should check in your local shops. Many retailers offer free shipping.
-
Review a product to find out what other customers think.
-
Ask your family members and friends to recommend similar products.
-
Forums and message boards are a great place to find out about customer experiences.
-
Find user reviews online.
-
Use websites like Amazon.com to compare prices and read customer feedback.
-
Check out these photo galleries for an example of the work that photographers do with their tripods.
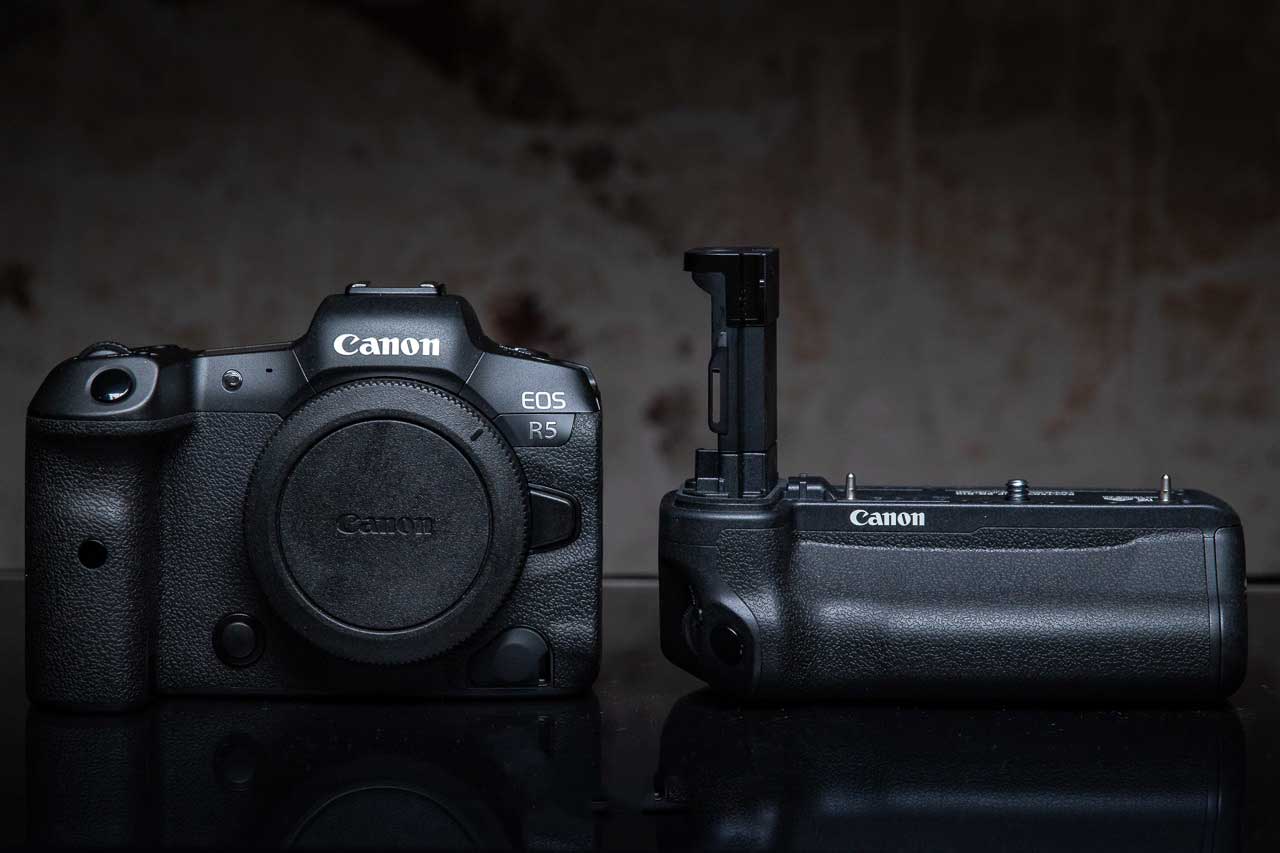
What camera is the best for beginners, and why?
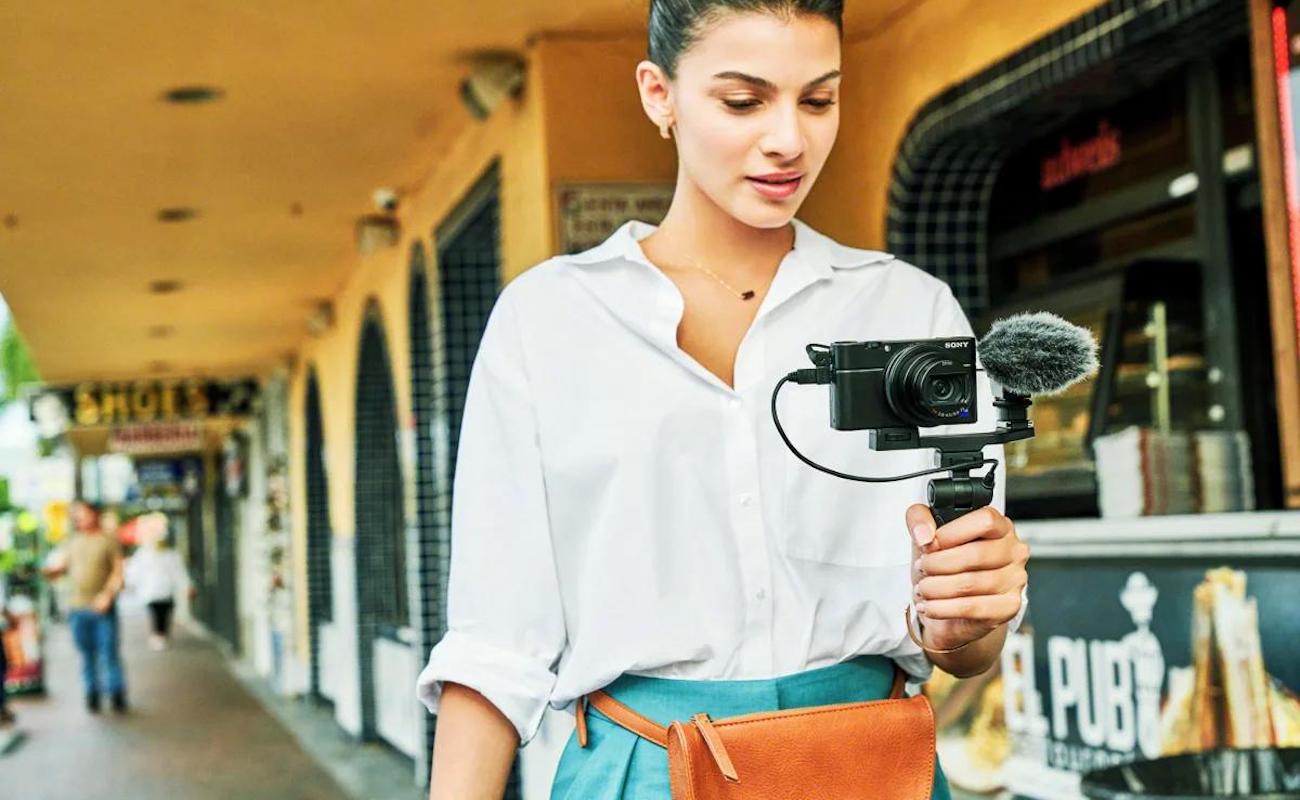
The best camera to use for beginners is dependent on your needs, budget, and skill level.
For example, if you're looking to save money, you might choose a point-and-shoot digital camera. These cameras have a good quality, but they are not very versatile.
The Digital Single Lens Reflex (Digital DSLR) camera allows you to interchange lenses, allowing you to take different kinds of photos. These cameras are generally more expensive that point-and clicks, but provide greater flexibility.
For beginners to photography, the beginner's set is a great place for you to start. Everything you need, including a flash, tripod, memory card and camera body, will be included in the one-pack.
Make sure to purchase extra batteries.
Photography is a talent?
Photography is an art form, not a talent. It requires training, experience, and practice. To master any aspect of photography, it takes years of practice and study.
Photography is also a business where you need to have a plan for how you are going to make money from it.
You need to know what type of clients you are looking for and how you can reach them.
You must understand their motivations and who they are. You must learn to communicate clearly and persuasively to persuade them to buy your services.
This means you must be prepared to meet potential clients.
Before you approach potential customers, it is necessary to compile a portfolio. This can be done digitally through software programs or printed on to paper.
Once you have created a portfolio, you must look for opportunities to show it off. This could mean approaching businesses directly or advertising online.
Which Lenses Should I Use?
Most beginners will ask this question: "Which lens should I buy?" There are many options. It can be difficult to make a decision.
The good news is you don't always need to buy a different lens with every purchase of a camera. You can simply add lenses later.
For starters, here are three types of lenses you might want to consider.
-
Wide Angle Lens (14mm-24mm): These lenses have a wide view angle that will allow you to capture more of your subject. You can zoom in to improve image quality.
-
Normal/Standard Zoom Lens (28mm - 70mm): These lenses allow you to change focal lengths while maintaining image quality.
-
Telephoto Zoom Lens (70mm–200mm) : These lenses are ideal for photographing distant subjects. They let you focus on your subject even though they appear small in the frame.
These lenses can also be combined to produce different effects. Combining lenses can create different effects. For example, a normal lens could be used to capture small details while a telephoto lens is used to capture faraway objects.
Cameras available for purchase
There are many places online that you can purchase cameras. However, we recommend buying from a reputable retailer like B&H Photo Video. They are able to assist you with any questions.
B&H ships quickly and securely to make it easy for you to get your order to your door.
This video will help you learn more about buying cameras.
How do I become an excellent photographer?
Photography is an art form that requires patience, dedication, passion and dedication. If you are passionate about photography, you will find yourself doing much better than if you were just going for the money.
It is important to know how to properly use your camera. You will need to know how to use your camera properly. Also, you will need to be able to use Photoshop.
Photography is not easy, but once you master it, there is nothing quite as satisfying as creating images that capture moments in time that would otherwise have been lost forever.
You can improve your skills by reading books, attending classes, and participating in competitions. This will give you experience and confidence that will help you improve. What equipment is required?
It really all depends on what type of photography you enjoy. You will need a wide angle lens if you want to photograph landscapes.
You should invest in a Telephoto Lens if you love portrait photography.
A tripod is crucial for taking photographs. It allows you stand up and compose your photo without moving.
Camera bags are great for carrying your accessories, such as memory cards and cameras.
A flash unit is necessary if you are using a compact camera.
A DSLR (Digital Single Lens Reflex), camera is the best choice for novice photographers who wish to create professional-quality images.
DSLRs are highly popular for their ability to control every aspect of a photo, such as shutter speed and aperture, ISO sensitivity, white-balance, focus, and white balance. There are many features available, including autofocus, self-exposure lock (auto-exposure lock), bracketing, and RAW format.
Statistics
- While I cannot prove that all of those spots were not sensor dust, the photo was taken during a heavy snowstorm…so I guess that 99.8% of the spots are snowflakes. (bhphotovideo.com)
- That's the easiest way to get blurry photos 100% of the time. (photographylife.com)
- The second easiest way to get blurry photos 100% of the time is to use a cheap filter on the front of your lens. (photographylife.com)
- Get 40% off Adobe Creative Cloud(opens in new tab) (creativebloq.com)
External Links
How To
How to take photographs in low lighting conditions
Low-light photography is the art of taking photographs in dark or dimly lit environments. It requires special equipment. Controlling exposure, white balance, sharpness, and contrast are the main challenges. There are two types low-light photography: ambient and flash. Flash photography works well when there is sufficient light around you. But if there isn't enough natural light, then you'll have to use a flash. You might need a flash if your subject is outside but indoors. A flash is not necessary if you aren't interested in shooting at night with the moonlit hours. You will get beautiful shadows and colors. Another option is shooting at twilight. Twilight happens when the sun has set but there is still daylight.
Long exposures may be something you want to explore. Long exposures allow you to record images after the shutter has been open for several minutes. The shutter must be closed so that the camera only records light that hits the sensor. The light that falls onto the sensor during a long exposure continues to be recorded. But, the shutter remains closed and no new light enters. The result is that there is very little movement. To ensure you're getting a clear image, turn off any automatic settings like autofocus and auto exposure. Make sure to adjust the ISO setting before starting to shoot. A 200 ISO setting gives you greater control over how dark or bright your image looks. Once you are ready to click the shutter button, make sure it is fast. The shutter will close completely. Hold the shutter button down for the final second. By holding down the shutter button, you prevent additional light from entering the camera. After you've taken the picture, wait a few seconds before releasing the shutter button. This allows your camera to process the picture. You can view your photos while you wait on the camera. When you are happy with your photos, save them to the computer.