Aperture lenses can be used for various purposes. They can be either fixed or variable. There are also lenses with faster shutter speeds and wider apertures. It is essential to select the right lens that suits your needs in order for the best photography. This article will give you information on different types. You can use this information to choose the right one for your next photo shoot.
Fixed aperture lenses
Fixed aperture lenses are useful for photographers who want to capture images in low light and with large apertures. When you zoom in and outside, the apertures of fixed aperture lenses don't change. This is a great advantage when photographing wildlife or animals. Fixed aperture lenses also make it easy to shoot long focal lengths in low-light conditions. However, fixed aperture lenses can be very heavy and not ideal for travel.
Although fixed aperture lenses cost more, they are generally more durable than their variable aperture counterparts. The glass quality in fixed aperture lenses is generally better. In addition, these lenses have faster autofocus.
Variable aperture lenses
Variable aperture lenses are able to capture many different situations. These lenses are often smaller than traditional ones, because they don’t require large glass elements. They are ideal for travel and in dark environments. Kit lenses, however, are designed to save money and can often be a poor choice when taking photos in low light conditions.
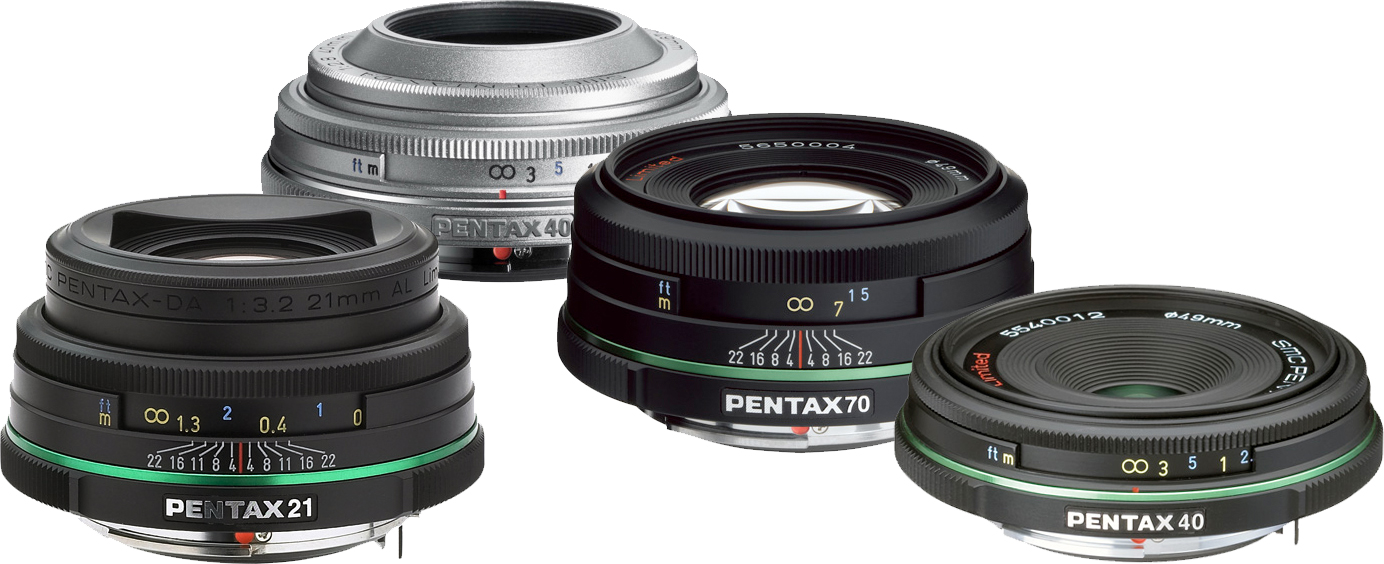
Variable aperture lens are available in many price levels. Wider apertures are generally more expensive. An example of this is the price difference between two lenses with the exact same focal length but with different internal elements. Professional photographers will notice a difference in depth of field and bokeh when a lens is f/1.2.
Wider aperture lenses
Wide-angle lenses allow more light to enter the camera than standard zoom lenses. This allows for better photographs in low light conditions, and faster shutter speeds. For example, the Canon 100-400mm lens has a maximum aperture at 100mm of f/4.5 and at 400mm of f/5.6. However, newer digital cameras can perform better with higher ISO settings, so a wider aperture may not be necessary.
Two types of lens aberration can also affect wide-angle lenses. These are known as coma and spherical aberration, and are most obvious when images contain bright points of light against dark backgrounds. Coma also causes light to spread from the point of light making it appear like it has a comet-like tail. This usually clears up as the aperture gets wider.
Faster shutter speeds
The main factor in determining whether you get sharp pictures is the aperture. It controls the amount of light that enters the camera. A wider aperture allows for more light to enter the camera. But, this would mean slower shutter speeds. This would cause overexposure and bright areas in the photo. An aperture that is smaller would allow less light to enter the camera, which could result in underexposure.
Aperture is measured in stop. For the camera to receive twice the amount of light, it is necessary for a stop to measure the aperture's area. Double the diameter would double the amount that light hits the sensor. This ratio is dependent on the opening diameter. Then, it is rounded to nearest full stop.
Side effects of aperture lenses
The sharpness of the image will fade away as you move towards the edges of your frame from the middle. This effect is more prominent in wide aperture lenses. This is due the lens's wider aperture, which can hide sensor dust and water spots. Diffraction also increases with large apertures.
To reduce this effect, you can increase or stop the ISO of your camera. This will decrease the amount of light entering the lens. To the contrary, an increase in ISO will increase brightness. You can also change the ISO and shutter speed to alter depth of field.
FAQ
Light Room can enhance your photos.
To ensure that you get the best photos for your project, it is best to start early. It's better if you take as many shots possible before you decide on the ones that give the most value.
Lightroom makes this possible by showing you how different settings affect each photograph. You can adjust these settings instantly without returning to Photoshop. This allows you to quickly test what looks great and what does not.
How can you become a skilled photographer?
Photography is an art form that requires practice, patience, dedication, and above all else, passion. If you are passionate about your photography, you will do much better than you would if you were only interested in making a living.
You must learn how to use your digital camera correctly. It is important to understand the basics of composition, lighting and exposure. Also, you will need to be able to use Photoshop.
Photography is not easy, but once you master it, there is nothing quite as satisfying as creating images that capture moments in time that would otherwise have been lost forever.
You can improve your skills by reading books, attending classes, and participating in competitions. This will give you experience and confidence that will help you improve. What equipment do I need?
It really all depends on what type of photography you enjoy. If you're interested in landscape photography, for example, you'll need a wide-angle lens.
If you are into portrait photography, you must invest in a telephoto lens.
A tripod is essential when taking photographs. It allows you stand up and compose your photo without moving.
A camera bag is useful for carrying your camera, memory cards, and other accessories.
A flash unit is necessary if you are using a compact camera.
For beginners looking to capture professional-quality photos, a DSLR (Digital Single Lens Reflex Camera) is the best option.
DSLRs are great because they let you control every aspect in your photo including shutter speed (aperture, ISO sensitivity), white balance, focus and white balance. There are many features available, including autofocus, self-exposure lock (auto-exposure lock), bracketing, and RAW format.
Is digital photography hard?
Digital photography isn't as simple as you might think. Learning how to properly use the tools takes effort and time. It is important to be familiar with the settings that are best for each type of shot. Learning by doing is the best way to learn. Practice makes perfect.
Cameras available for purchase
There are many places online that you can purchase cameras. B&H Photo Video, however, is recommended as a trustworthy retailer. They are able to assist you with any questions.
B&H ships securely and quickly, so you can get your order delivered right at your door.
This video will explain how to shop for cameras.
Statistics
- There are people out there who will pick at flaws they can only see in 100% crops of your photos. (wikihow.com)
- That's the easiest way to get blurry photos 100% of the time. (photographylife.com)
- The second easiest way to get blurry photos 100% of the time is to use a cheap filter on the front of your lens. (photographylife.com)
- By March 2014, about 3 million were purchased monthly, about 30 percent of the peak sales total. (en.wikipedia.org)
External Links
How To
How to capture pictures under low lighting conditions
Low-light photography is the art of taking photographs in dark or dimly lit environments. It requires special equipment. The main challenges are controlling exposure, white-balance, and sharpness. Low light photography can be divided into two categories: ambient and flash. Flash photography works well when you have enough light. However, if there's not enough natural light around you, you'll need to use flash. A flash might be necessary if you are photographing a subject indoors and outside. A flash is not necessary if you aren't interested in shooting at night with the moonlit hours. You'll be able to capture beautiful colors and shadows this way. Another option is shooting at twilight. Twilight is the time when the sun has set and there's still daylight.
You might also be interested in long exposures. Long exposures let you capture images even after the shutter has been open several minutes. The camera records only light that falls on it if the shutter is not closed. The light that falls onto the sensor during a long exposure continues to be recorded. But, the shutter remains closed and no new light enters. You will see very little movement as a result. To ensure a clear image, you should turn off all automatic settings such autofocus or exposure. Before you begin shooting, adjust your ISO setting. A 200 ISO setting gives you greater control over how dark or bright your image looks. When you're ready for the shot, press quickly the shutter button. This will bring the shutter completely to a close. Next, hold the shutter button down until the end. The shutter button should be held down to prevent more light from entering the camera. Once you have taken the image, wait for a few seconds before you release it. This allows your camera to process the picture. You can view your photos while you wait on the camera. When you are happy with your photos, save them to the computer.