Northern Lights photographs captures the beauty of this phenomena and the breathtaking colors of night sky waves. They are breathtaking and deserve to be cherished forever. Here are some tips for capturing the best photos of the northern lights: Setting shutter speed and white balance according to their speed of movement, and obtaining a good shot of the green channel.
Adjusting shutter speed in accordance with northern lights movement speed
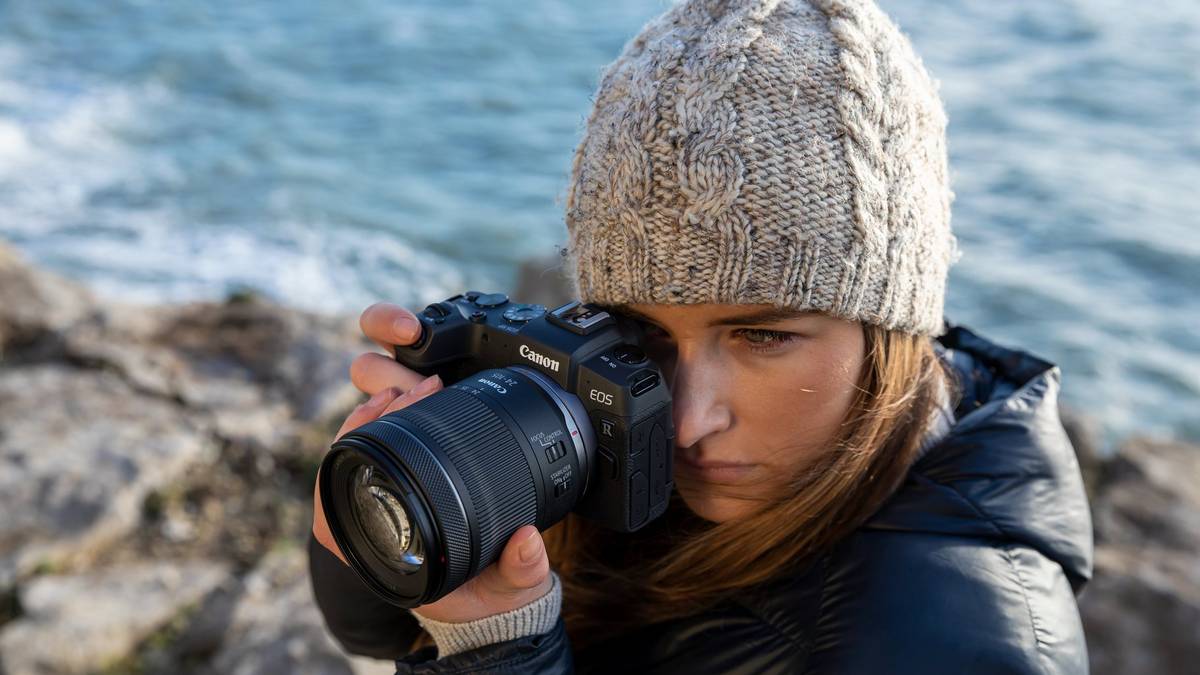
One of the best ways to capture a Northern Lights photo is by using a camera that allows you to adjust its shutter speed according to the speed of the lights' movement. To get the best results, experiment with your camera's settings. The process is easy and you can begin by using your base settings. For example, you should use the aperture of f/2.8 and use K-Mode for your white balance.
Before you set out on your Northern Lights photographic expedition, make sure to charge the batteries and ensure enough storage space for the photos. As batteries can be more sensitive to cold temperatures, you may want to carry a spare set. To get the best Northern Lights photos, you will need a tripod. For blurred images, you can also reduce camera vibrations by using a shutter delay of 2-5 seconds.
It is important to not expose the green channel too much when photographing the Northern Lights. This is because it can cause loss in detail and color. Also, avoid shooting in low light. To ensure interesting compositions, you should have a strong foreground.
Changing white balance
It's crucial to adjust the white-balance setting when taking photos with the northern lights. Your photos will look more realistic if the white balance is set correctly. The white balance should match the lighting conditions you are using. If you are shooting in sunlight, for example, adjust the white balance to sun. The Kelvin range of 2800-4000 Kelvin is the best setting to ensure that the colours in your shot are natural. Semi-professional DSLR cameras have a manual setting for white balance.
If you want to get the best Northern Lights photographs, it is worth shooting in Raw. RAW captures the most information in shadows and highlights. Another option is to use long exposure. This will allow your camera to capture more detail and slow down your shutter speed. A tripod can be used to stabilize the camera and reduce your shutter delay time to between two and five seconds. This will prevent any camera vibrations.
For northern lights photography, it is important to set your white balance between 3500K - 4000K. Your shutter speed can also be increased to improve the brightness of your images. This can help avoid overexposure of the green channel, which will destroy color and detail.
Take a good picture of the green channel
These steps will help you capture the green channel of your northern light photos. Remove the UV filter first. After this, you can switch to manual focus. Adjust your settings to match the aurora's intensity. You should also check your RGB histogram for green colors in your images. If you have a cable release, make sure to use it.
Next, you need to choose a shutter speed which will allow for a long exposure and not overexposing the highlights. A wide aperture will give you a clear shot of northern lights. However, it is best to keep the shutter speed between 10-15 seconds. Longer exposures will cause the northern lights to be blurry and will not give you a clear image.
A good photo of the northern lights requires that you choose the right setting and camera. ISO determines how long the camera will expose. But if you're using a tripod to take the photo, you might need to lower your ISO. You should also keep your batteries in a safe place. A warm battery will last much longer than a cold one.
FAQ
How do you get started in digital photography
You should first consider what kind of camera you want when you begin digital photography. There are many options: DSLRs (digital Single Lens Reflex Cameras), point-and–shoot compact cameras or camcorders. Each one has its advantages and disadvantages. For example, DSLR cameras offer high-quality images but are typically larger and heavier than other types of cameras. Point-and shoot cameras are smaller, lighter and have more automatic settings. Camcorders have excellent video recording capabilities. They may also offer still-photo shooting modes. Smartphones are lightweight, portable, and light. They offer excellent image quality, advanced features, such as GPS mapping, music playingback, and Internet browsing.
Once you have made your decision on the camera type you wish to purchase, it is time to decide if you want to buy a used one or a brand new one. Even if the cameras were bought in the last few decades, they can still be purchased at reasonable prices. Newer models cost more, as manufacturers spend a lot of money on developing new technology.
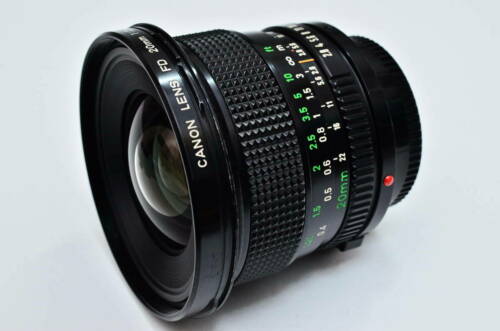
Next, you will need lenses. Lenses are crucial in determining the quality and appearance of your photos. These lenses allow you control the focal length of your lens, which allows you to zoom into the scene and not lose focus. Some lenses include built-in flash units. Others require external flash. There is a wide selection of lenses available from different brands. Each lens has its own characteristics.
You will also need memory cards. Memory cards store pictures taken by your camera. The size of your memory card will depend on the number of images it holds. It could store hundreds of thousands or even millions of pictures. Multiplying your memory cards is necessary if you are going to be taking lots of photos.
Do I Need A Tripod?
This is one of those common questions. A tripod isn’t always needed, but it can be very useful.
A tripod allows you to stabilize your camera when taking photos at slow shutter speeds. A tripod can make all the difference when you're photographing landscapes or other stationary subjects.
However, a tripod can blurriness if you are photographing moving subjects, such as people or athletes. What are the best ways to determine which situations you need a tripod for?
A tripod can be useful in any situation where you need to capture fast action or stationary subjects. Examples include:
-
Sports
-
People
-
Landscapes
-
Close-ups
-
Macro shots
If you're unsure whether you need a tripod, try this test. Take your camera and hold it still. Then, look through the scope. If you see blurred lines or movement, then you definitely need a tripod.
A tripod won't make any difference if there is no blurring.
Here are some tips for those who do decide to buy a tripod.
-
Make sure your tripod has smooth legs. This will stop unwanted vibrations shaking your camera.
-
You should choose a sturdy tripod. Some tripods may be made from plastic, which can make them less durable. Look for a metal tripod instead.
-
Buy a remote release. This allows you to control your camera remotely. Once you press the button, it will automatically fire the shutter.
-
Make sure to look for a tripod that rotates 360 degrees. This makes it much easier to position your cameras horizontally or vertically.
-
You should keep in mind that tripods don't come cheap. Expect to pay between $100-200. You will still get a lot out of your money.
-
Don't forget about accessories like filters and memory cards.
-
Before buying online, check with your local store. Many retailers offer free shipping.
-
You can read customer reviews to see what people think of a product.
-
Ask your family members and friends to recommend similar products.
-
For customer feedback, visit message boards and forums.
-
You can search online for reviews from other users.
-
Use websites like Amazon.com to compare prices and read customer feedback.
-
Browse photo galleries to get an idea of what photographers do with their tripods.
How can you become a skilled photographer?
Photography is an art. It requires dedication, patience, dedication, and, above all, passion. If you love photography, you'll be doing better than if only you were going after the money.
You must learn how to use your digital camera correctly. You must understand composition, lighting, exposure, depth of field, etc. Also, you will need to be able to use Photoshop.
Photography is not easy, but once you master it, there is nothing quite as satisfying as creating images that capture moments in time that would otherwise have been lost forever.
To improve your skills, you can read books and attend classes. You can also participate in competitions. This way, you will gain experience and confidence, leading to improvement. What equipment are you looking for?
It really depends on what kind of photography you like to do. For example, if you are interested in landscape photography, you will need a wide-angle lens.
If you're interested in portrait photography, you should get a telephoto zoom lens.
A tripod is crucial for taking photographs. A tripod allows you to stand still and compose your photograph without having to move.
Camera bags can be useful for carrying your camera and memory cards as well as other accessories.
If you have a compact digital camera, a flash unit will be necessary.
A DSLR (Digital Single Lens Reflex) camera is by far the best choice for beginners who want to take professional quality photos.
DSLRs are very popular because you can control every aspect of the photo including shutter speed, apertures, ISO sensitivity and white balance. You also have the option to use autofocus, autoexposure lock and self-timer.
How do I learn to take photos on my own?
If you want to learn how to take great photos, there are many ways to do this. You could buy a book, attend a class, join an online community, watch YouTube tutorials, etc. There's no better way to learn the art of photography than by doing it yourself. This way you can control what goes into each photograph. And as long as you keep learning, you'll always improve.
One of the best aspects about digital photography is that it doesn't require any expensive equipment. You only need a computer and an internet connection to take pictures. All the rest is up to your imagination.
Here are some tips for getting started:
-
Familiarize yourself with the manual settings for your camera.
-
Learn how to use the basic controls.
-
Photograph lots.
-
Edit them.
-
Share them.
-
Keep practicing.
-
Experiment.
-
Take a look at the world from different perspectives.
-
Use light sources creatively.
-
Practice makes perfect.
-
You don't have to be afraid of failing.
-
Be patient.
-
Have fun
What makes a camera bag good?
It is essential to choose a camera bag that protects your gear when you travel. These are some important things to keep in mind as you choose a bag.
-
You should choose a large bag that can hold your accessories and camera comfortably. Don't get any bigger than you really need.
-
Durability: Buy bags made of durable materials like canvas, nylon or leather. Avoid plastic and fabric bags.
-
Protection: Make your bag waterproof against dirt, moisture and scratches
-
Organization: To make it easier to find what you need, organize your gear according to type. You could, for example, place your lenses in one area, your memory card in another and your battery charge in yet another.
-
Comfort: Avoid carrying around a bulky bag when you are shooting. Instead, carry a shoulder belt. Comfortable designs with padded shoulders are also recommended.
-
Price: You can shop around to find a great price. Discounts are sometimes offered by some brands, which can be a bonus.
-
Warranty: Check to see if the company offers a limited warranty. This will allow you to know who to contact if your bag becomes damaged.
Statistics
- There are people out there who will pick at flaws they can only see in 100% crops of your photos. (wikihow.com)
- That's the easiest way to get blurry photos 100% of the time. (photographylife.com)
- Get 40% off Adobe Creative Cloud(opens in new tab) (creativebloq.com)
- While I cannot prove that all of those spots were not sensor dust, the photo was taken during a heavy snowstorm…so I guess that 99.8% of the spots are snowflakes. (bhphotovideo.com)
External Links
How To
How to take pictures in low lighting conditions
Low-light Photography is when you take photos in dimly lit or dark environments. It requires special equipment. The main challenges in this field include controlling exposure, whitebalance, and sharpness. There are two kinds of low light photography. Flash photography is best when there is enough light. A flash is required if there isn’t enough light. Without a flash, it is possible to get a poor picture if the subject is indoors and not outdoors. Shooting at night in the moonlight hours is a good alternative to using a flash. This will allow you to get nice shadows and colors. Another option is to capture at twilight. Twilight is the time when the sun has set and there's still daylight.
Long exposures may be something you want to explore. Long exposures can be used to capture images even if the shutter has been closed for several minutes. If the shutter is closed, the camera records only the light that falls onto the sensor. The light that falls onto the sensor during a long exposure continues to be recorded. However, because the shutter remained shut, no new light enters the lens. You will see very little movement as a result. You can ensure clear images by turning off automatic settings such as autofocus or autoexposure. Also, make sure that you adjust the ISO setting before you start shooting. An ISO setting of 200 will give you more control over the brightness or darkness of your image. Next, click quickly on the shutter button to capture the shot. This will bring the shutter completely to a close. Next, hold the shutter button down until the end. To prevent additional light entering the camera, hold the shutter button down. Wait a few seconds after you have taken the photo before you release the shutter button. This will allow the camera to process your image. While you wait, your photos will be displayed on your computer's screen. When you are happy with your photos, save them to the computer.